How do I adjust the water flow of a wall kitchen faucet?
Jan 08, 2026
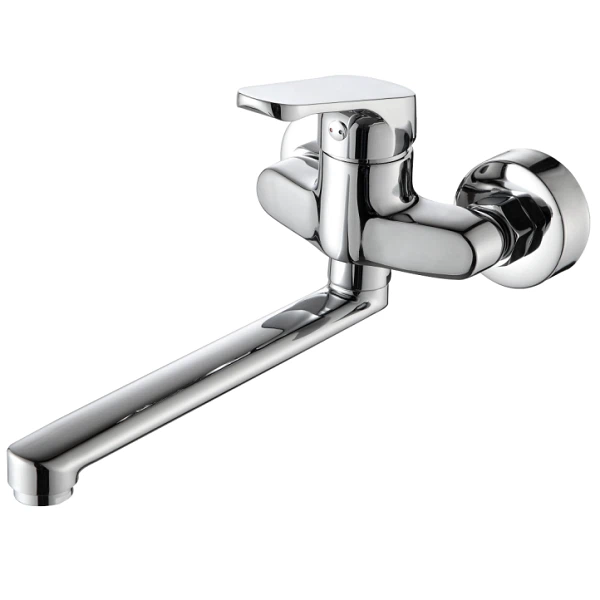
Adjusting the water flow of a wall kitchen faucet is a practical skill that can enhance your daily kitchen experience. As a supplier of Wall Kitchen Faucet, I've encountered numerous customers with questions about this topic. In this blog, I'll share some insights and steps on how to adjust the water flow effectively.
Understanding the Basics of Water Flow Adjustment
Before diving into the adjustment process, it's important to understand the factors that affect the water flow of a wall kitchen faucet. The water flow is primarily determined by two main elements: the water pressure from the supply lines and the internal components of the faucet itself.
The water pressure from your home's plumbing system plays a crucial role. If the water pressure is too high, it can cause splashing and waste water. On the other hand, low water pressure may result in a weak stream that makes tasks like rinsing dishes or filling pots difficult. The internal components of the faucet, such as the aerator, cartridge, and valve, also influence the water flow. The aerator is a small device at the end of the faucet spout that mixes air with water, reducing splashing and saving water. The cartridge controls the flow and temperature of the water, while the valve regulates the amount of water that enters the faucet.
Tools You'll Need
To adjust the water flow of your wall kitchen faucet, you'll need a few basic tools:
- Adjustable wrench: This will be used to loosen and tighten nuts and bolts.
- Screwdriver: Depending on the type of faucet, you may need a flathead or Phillips screwdriver.
- Pliers: Pliers can be handy for gripping and turning small parts.
- Bucket or container: To catch any water that may spill during the adjustment process.
Step-by-Step Guide to Adjusting Water Flow
Step 1: Check the Aerator
The aerator is often the first place to start when adjusting the water flow. Over time, it can become clogged with mineral deposits, dirt, and debris, which can restrict the water flow.
- Remove the aerator: Use your fingers or pliers to unscrew the aerator from the end of the faucet spout. If it's difficult to turn, you can use an adjustable wrench, but be careful not to damage the aerator.
- Clean the aerator: Soak the aerator in a solution of equal parts white vinegar and water for about 30 minutes. This will help dissolve any mineral deposits. After soaking, use a small brush, such as an old toothbrush, to scrub the aerator clean. Rinse it thoroughly with water.
- Reinstall the aerator: Screw the clean aerator back onto the faucet spout. Make sure it's tightened securely, but don't overtighten it.
Step 2: Adjust the Water Pressure Regulator
If cleaning the aerator doesn't improve the water flow, you may need to adjust the water pressure regulator. The water pressure regulator is usually located near the main water supply line or on the individual supply lines for the faucet.
- Locate the water pressure regulator: It looks like a small valve with a screw or knob on top.
- Adjust the pressure: Use a screwdriver or adjustable wrench to turn the screw or knob. Turning it clockwise will increase the water pressure, while turning it counterclockwise will decrease the pressure. Make small adjustments and test the water flow after each adjustment until you achieve the desired flow.
Step 3: Check the Cartridge
If the water flow is still not satisfactory, the cartridge may be the problem. The cartridge is a critical component of the faucet that controls the flow and temperature of the water.
- Turn off the water supply: Locate the shut-off valves under the sink or near the wall and turn them off. This will prevent water from flowing while you work on the faucet.
- Remove the handle: Use a screwdriver to remove the screw that holds the handle in place. Once the screw is removed, pull the handle off the faucet.
- Remove the cartridge: Depending on the type of faucet, you may need to use a cartridge removal tool or an adjustable wrench to remove the cartridge. Follow the manufacturer's instructions carefully.
- Inspect the cartridge: Check the cartridge for any signs of damage, such as cracks or wear. If the cartridge is damaged, it will need to be replaced. If it's just dirty, you can clean it with a mild detergent and water.
- Reinstall the cartridge: Carefully insert the cartridge back into the faucet and tighten it securely. Reattach the handle and turn on the water supply to test the water flow.
Step 4: Adjust the Valve
If all else fails, you may need to adjust the valve. The valve regulates the amount of water that enters the faucet.
- Locate the valve: The valve is usually located behind the wall or under the sink. It may be a ball valve, gate valve, or cartridge valve.
- Adjust the valve: Use an adjustable wrench to turn the valve. Turning it clockwise will decrease the water flow, while turning it counterclockwise will increase the flow. Make small adjustments and test the water flow after each adjustment until you achieve the desired flow.
Troubleshooting Common Issues
- No water flow: If there's no water flowing from the faucet, check to make sure the shut-off valves are open. Also, check the water supply lines for any kinks or blockages.
- Leaking faucet: A leaking faucet can be caused by a worn-out cartridge, gasket, or O-ring. Replace the damaged parts to stop the leak.
- Inconsistent water flow: If the water flow is inconsistent, it may be due to a clogged aerator, a faulty cartridge, or low water pressure. Follow the steps outlined above to troubleshoot and fix the problem.
Benefits of Adjusting Water Flow
Adjusting the water flow of your wall kitchen faucet offers several benefits:

- Water conservation: By reducing the water flow, you can save water and lower your water bill.
- Improved performance: A properly adjusted water flow ensures that you have enough water to perform tasks in the kitchen without wasting water or causing splashing.
- Extended faucet lifespan: Regularly adjusting the water flow and maintaining your faucet can help prevent damage and extend its lifespan.
Conclusion
Adjusting the water flow of your wall kitchen faucet is a relatively simple process that can be done with a few basic tools and some patience. By following the steps outlined in this blog, you can ensure that your faucet is functioning properly and providing the right amount of water for your needs. If you have any questions or need further assistance, feel free to contact us. As a leading supplier of Wall Kitchen Faucet and Single Handle Wall Mounted Kitchen Faucet, we're here to help you find the perfect faucet for your kitchen and provide expert advice on installation and maintenance.
If you're interested in purchasing high-quality wall kitchen faucets, we invite you to contact us for a quote and to discuss your specific requirements. Our team of experts is ready to assist you in finding the best solutions for your kitchen.
References
- "Kitchen Faucet Repair Guide." Home Depot.
- "How to Adjust Water Pressure in a Kitchen Faucet." This Old House.